A short letter every Sunday about one linocut, one tool and one thing the kitchen table taught me.
Carving a wave with three different gouges
No. 5211 min read
Dear reader,
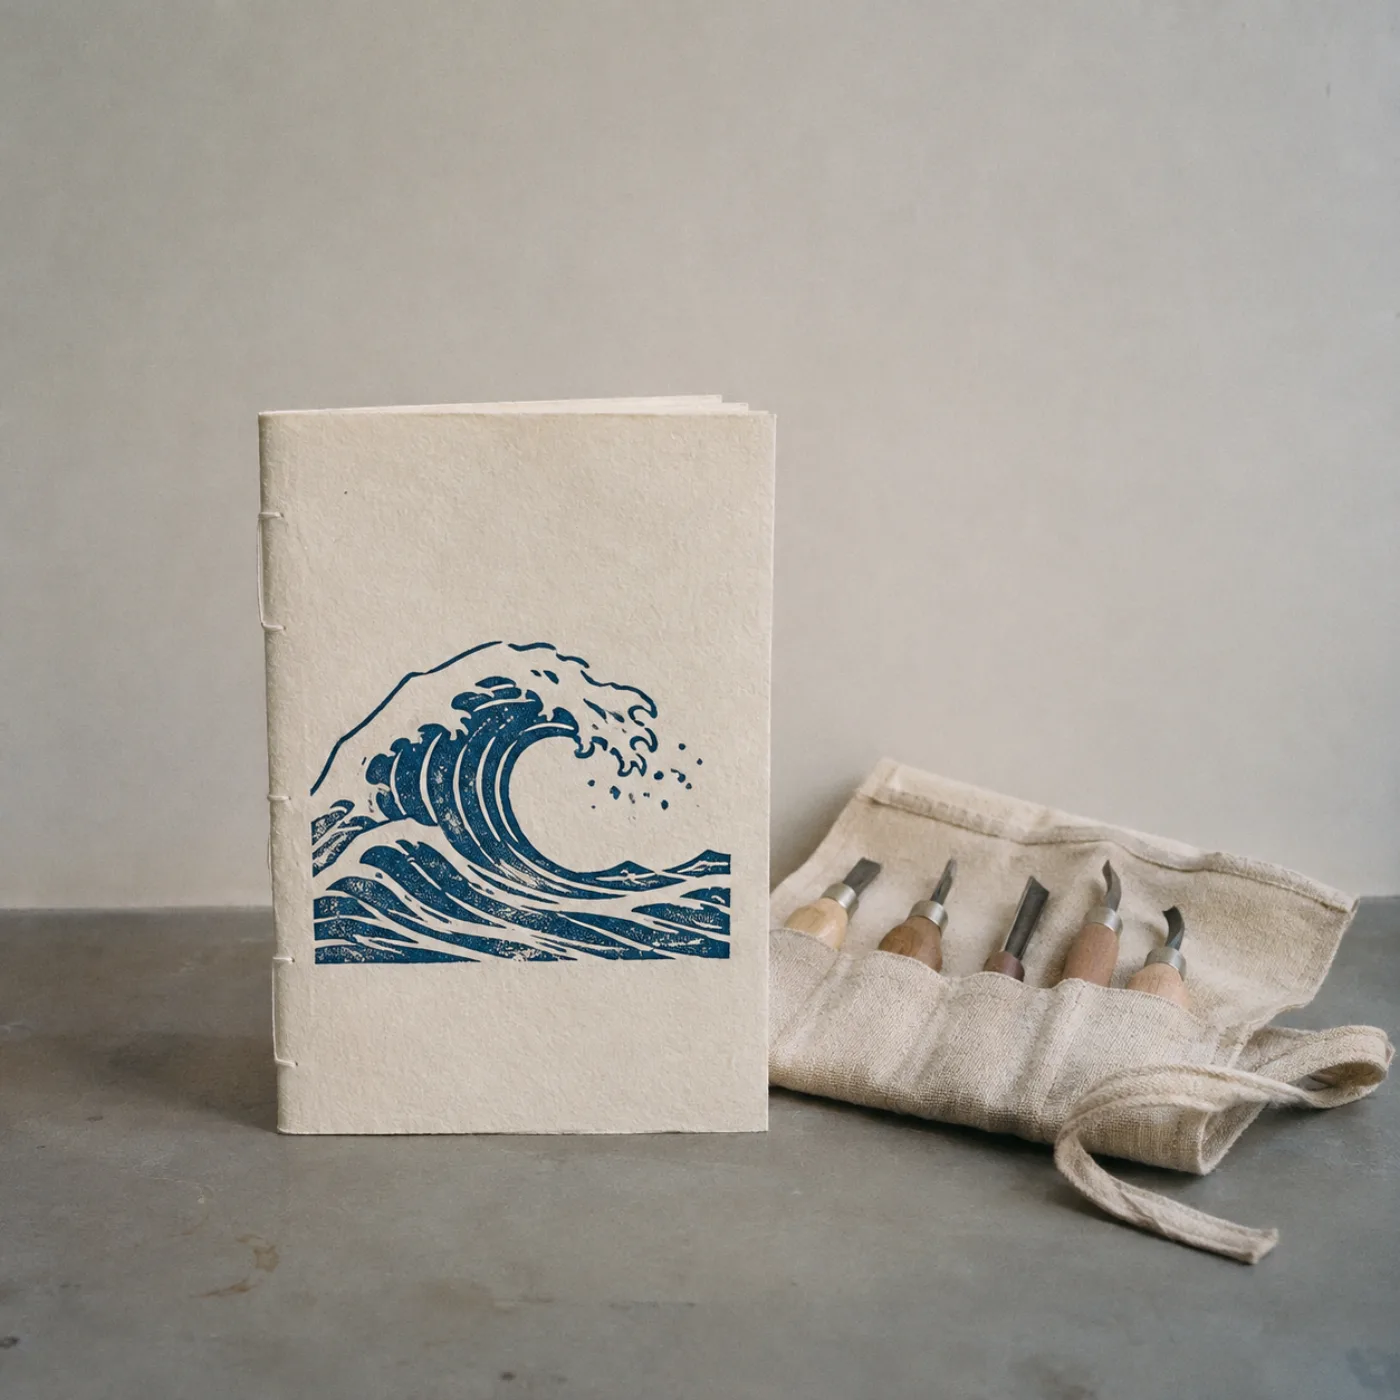
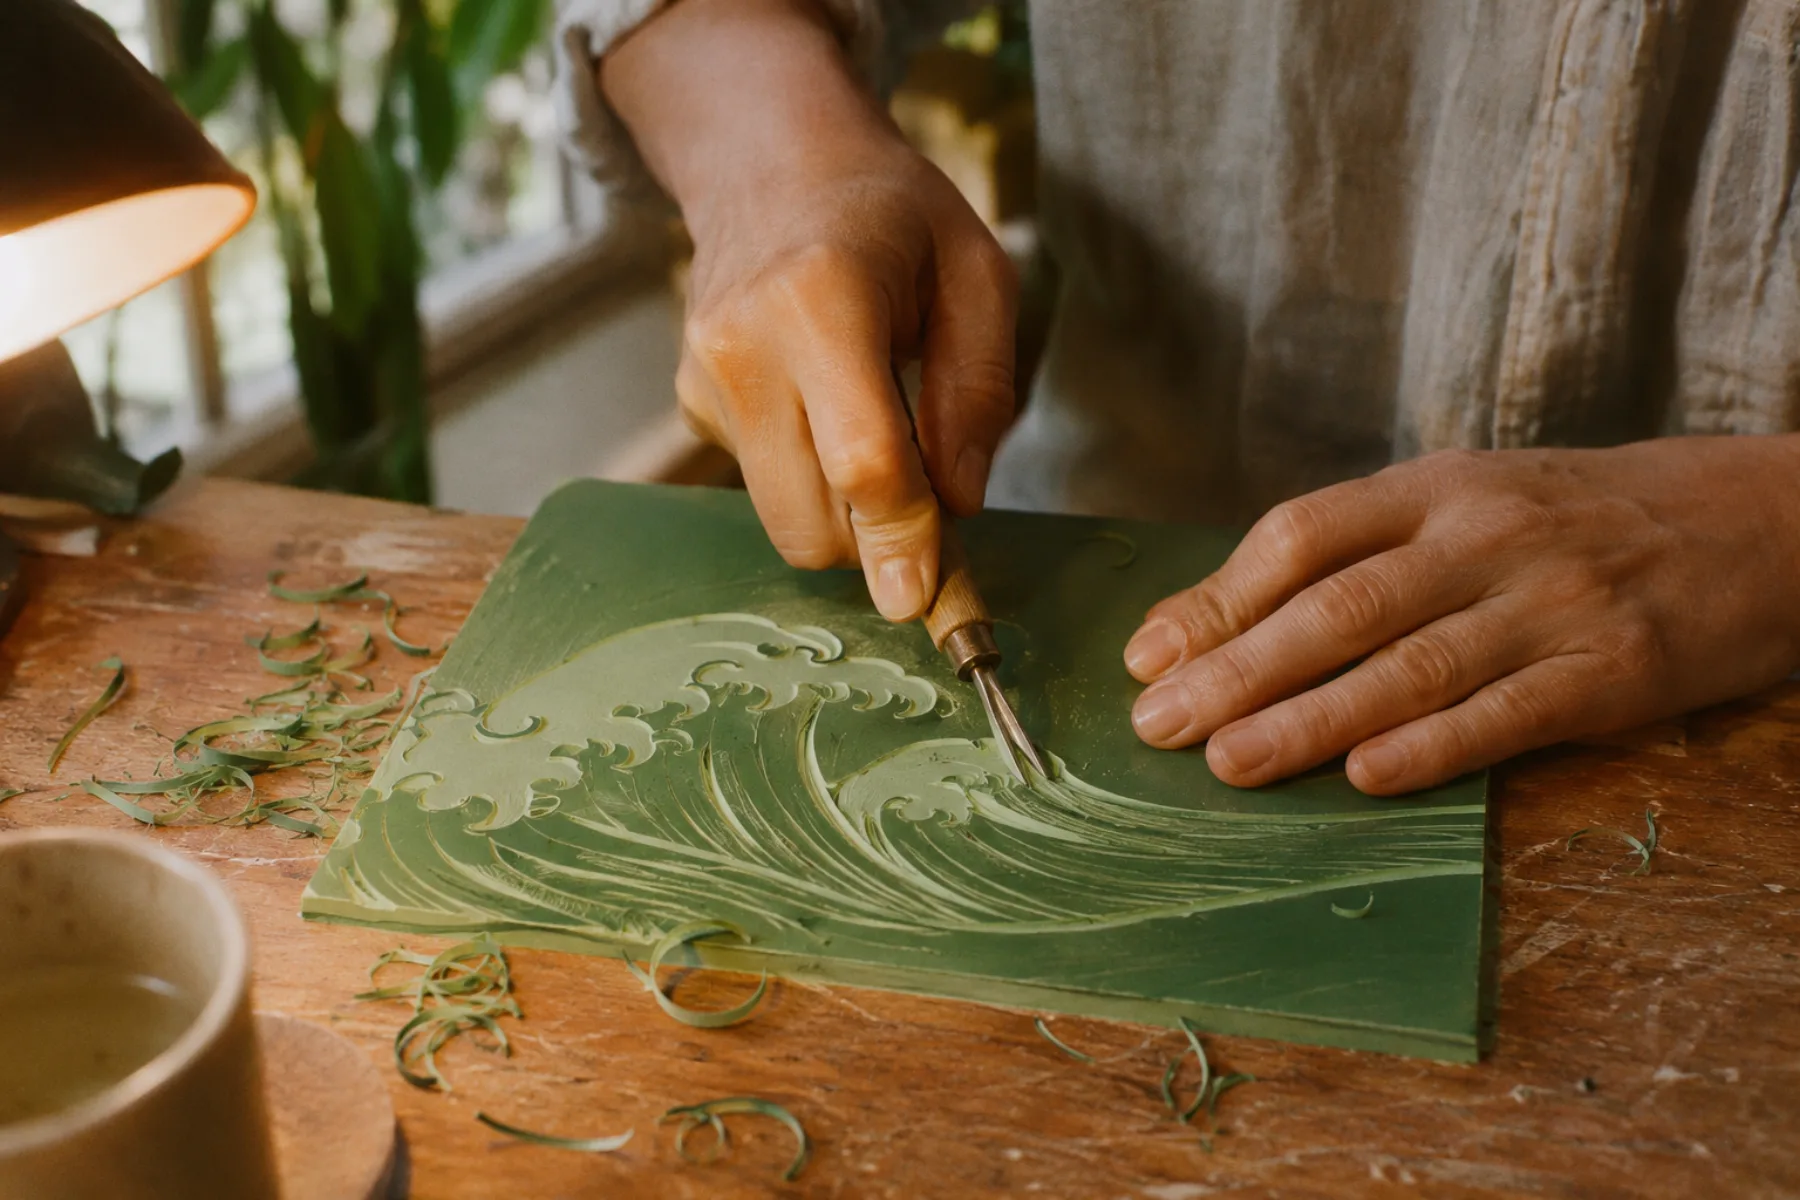
This week I carved a wave, and I want to tell you about the gouges, because I used to think I needed twenty and I now use three.Note 11 V-gouge and u-gouge: a v-gouge cuts a thin line with a sharp edge, a u-gouge cuts a rounded channel. A larger u clears wide areas. A small v-gouge for the thin lines, a medium u-gouge for the shapes and a large one for the sea around them. Almost every block I make is those three tools and a lot of patience.
1 V-gouge and u-gouge: a v-gouge cuts a thin line with a sharp edge, a u-gouge cuts a rounded channel. A larger u clears wide areas.
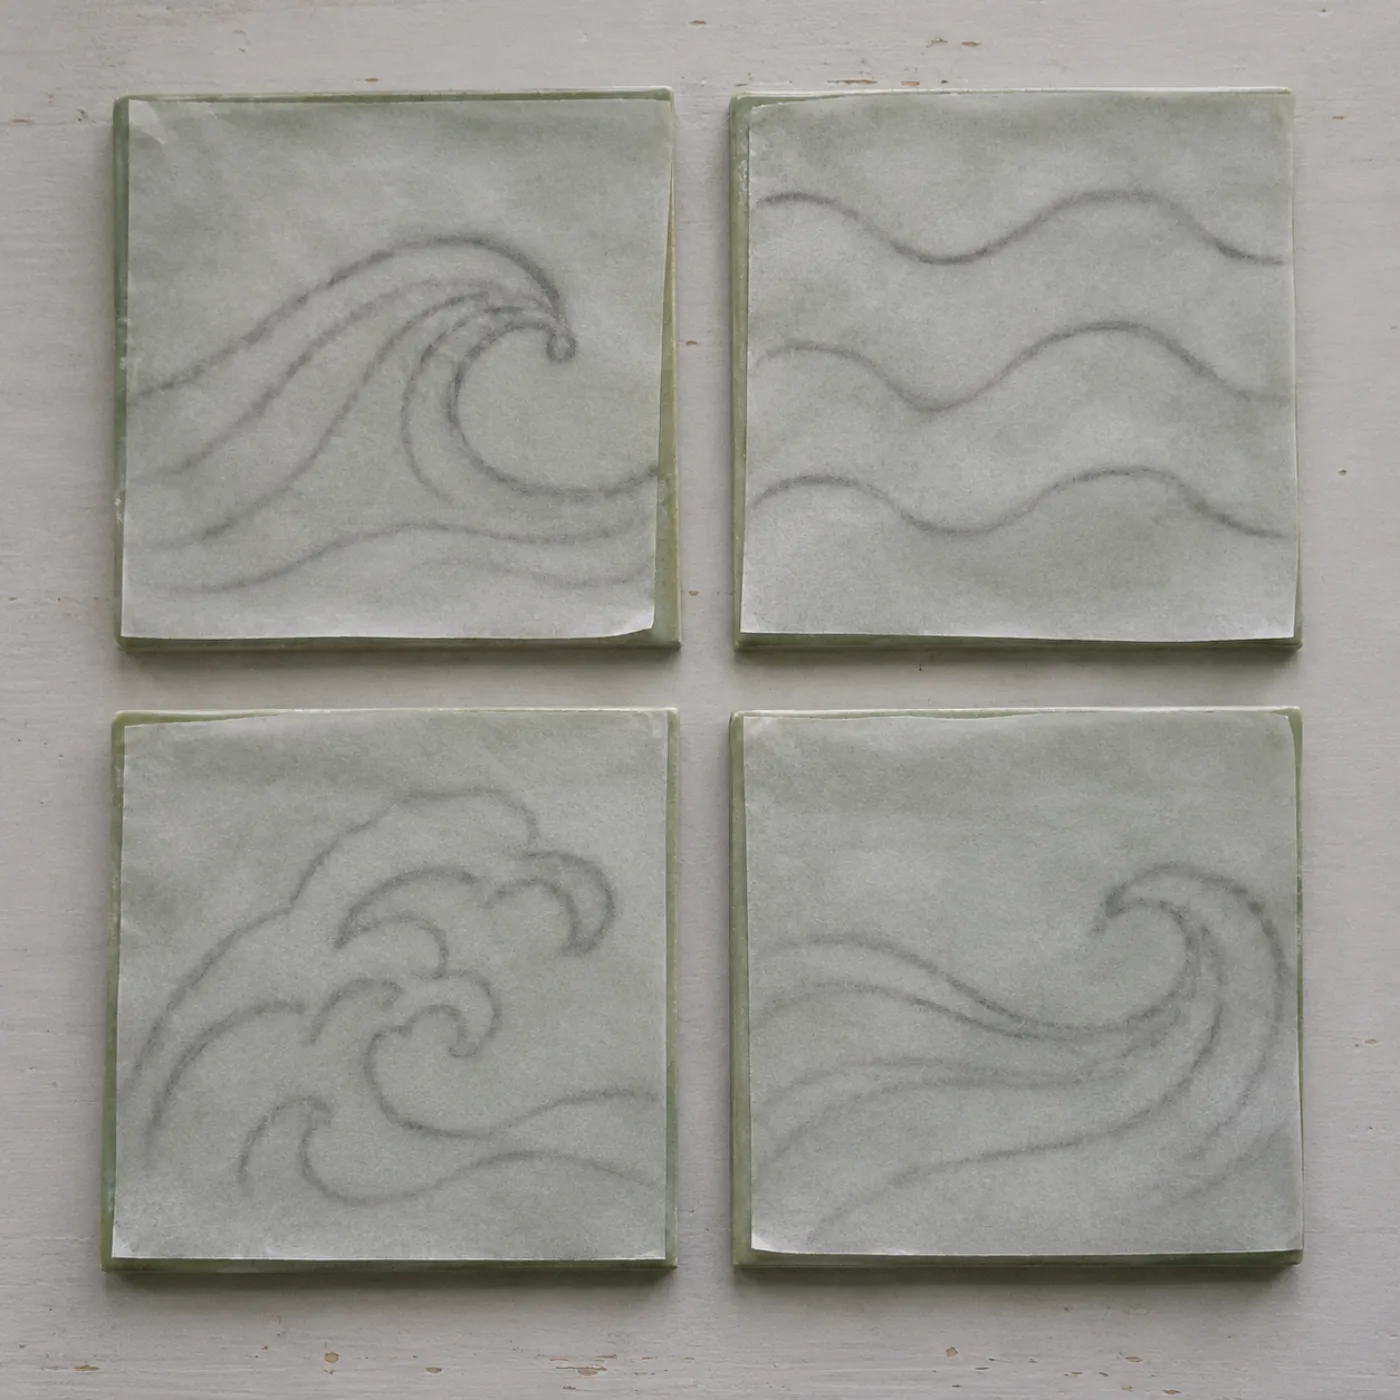
I start with the lines of the wave, the curl at the top and the foam.Note 22 Cut away from your body and keep the hand holding the block behind the blade, never in front of it. I cut away from my body and I turn the block, not my wrist. If the lino is cold from the window I warm it on the radiator for a few minutes, and it cuts as if it were butter instead of a biscuit.
2 Cut away from your body and keep the hand holding the block behind the blade, never in front of it.
The big gouge goes in last and takes out the background.Note 33 Background: the part of the block you carve away so that it does not print. What is left standing takes the ink. It is the most satisfying part and the part where I make my biggest mistakes. I leave a few small islands of lino standing in the sea, and they print as small specks that make the water look alive.
3 Background: the part of the block you carve away so that it does not print. What is left standing takes the ink.
I printed the block on Friday evening and hung it on the string above the kettle.Note 44 Drying: oil-based ink can take a day or more to dry on paper. A string and a few pegs is all the drying rack you need. In the morning the ink had dried to a deep blue and the wave looked like it was moving. Next week I will tell you how I pull a print without a press.
4 Drying: oil-based ink can take a day or more to dry on paper. A string and a few pegs is all the drying rack you need.
Cut and printed,
Willa